
![]()
Author Mamata
The previous Blog, Listed information about pre-upgrade tasks before upgrading to SCCM 2013.
Let’s move on upgrading infrastructure to SCCM 2103
Upgrade
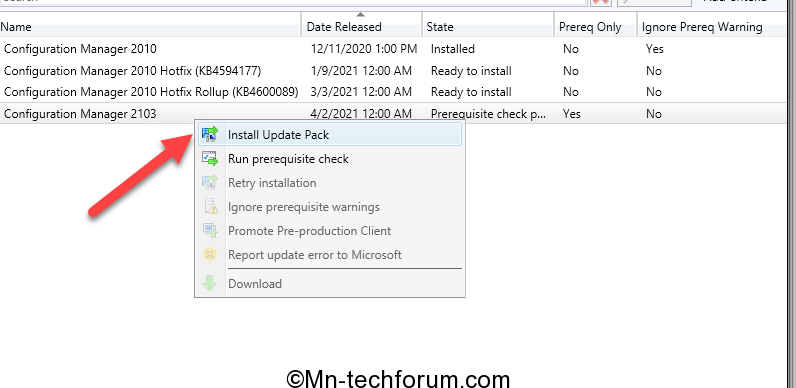
Navigate to Administration\Overview\Updates and Servicing and initiate the upgrade (Install Update Pack)
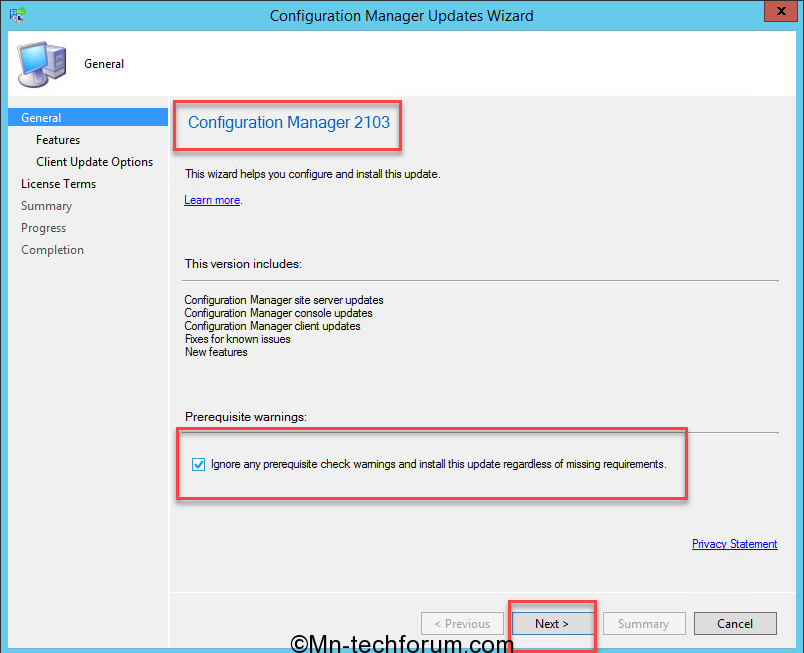
This version includes new updates, fixes, and features, click Next
Select features to be included, Click Next

I am not validating the Client hence opted for Upgrade without validating option and click on Next.

Review and accept terms for the update pack, select Software Assurance date, and click next

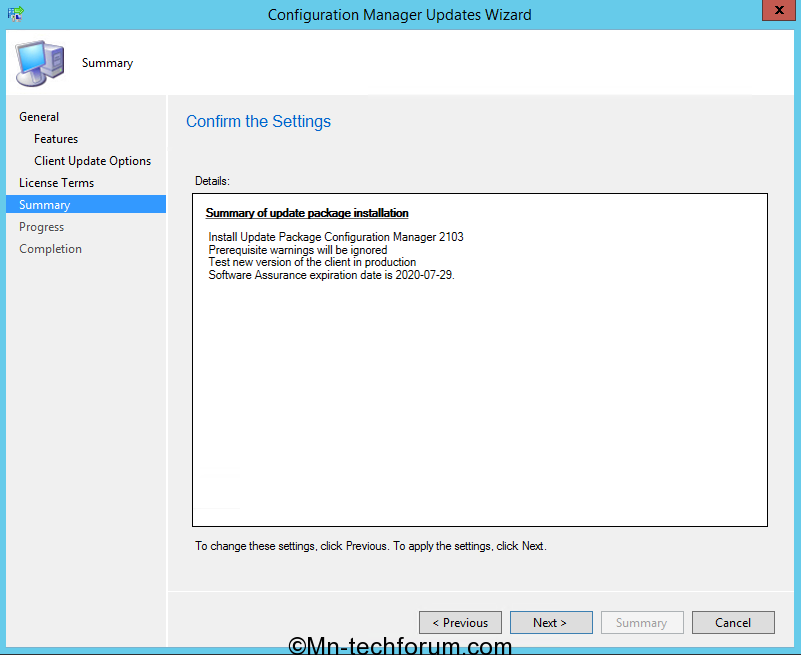
Verify the summary displayed below, click on Next, and then Close.
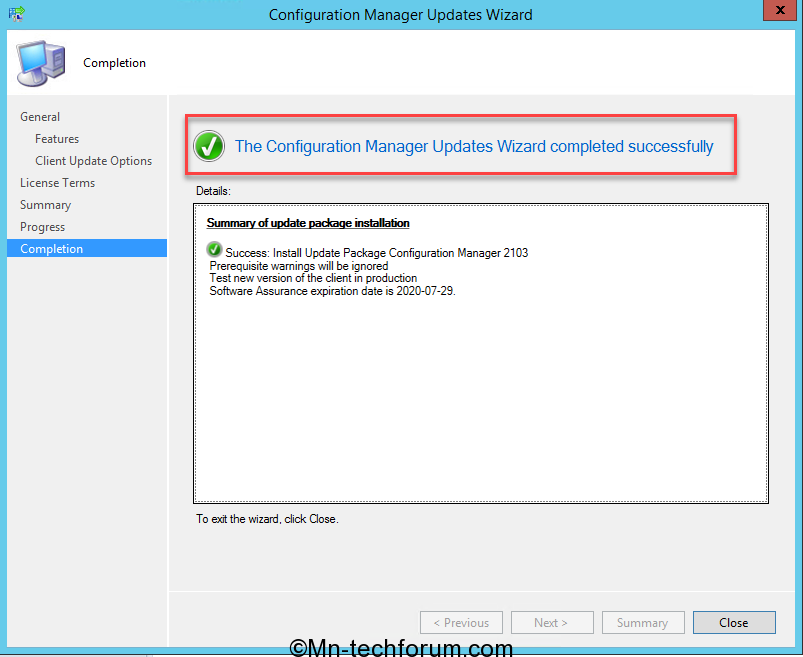
Wizard Completion
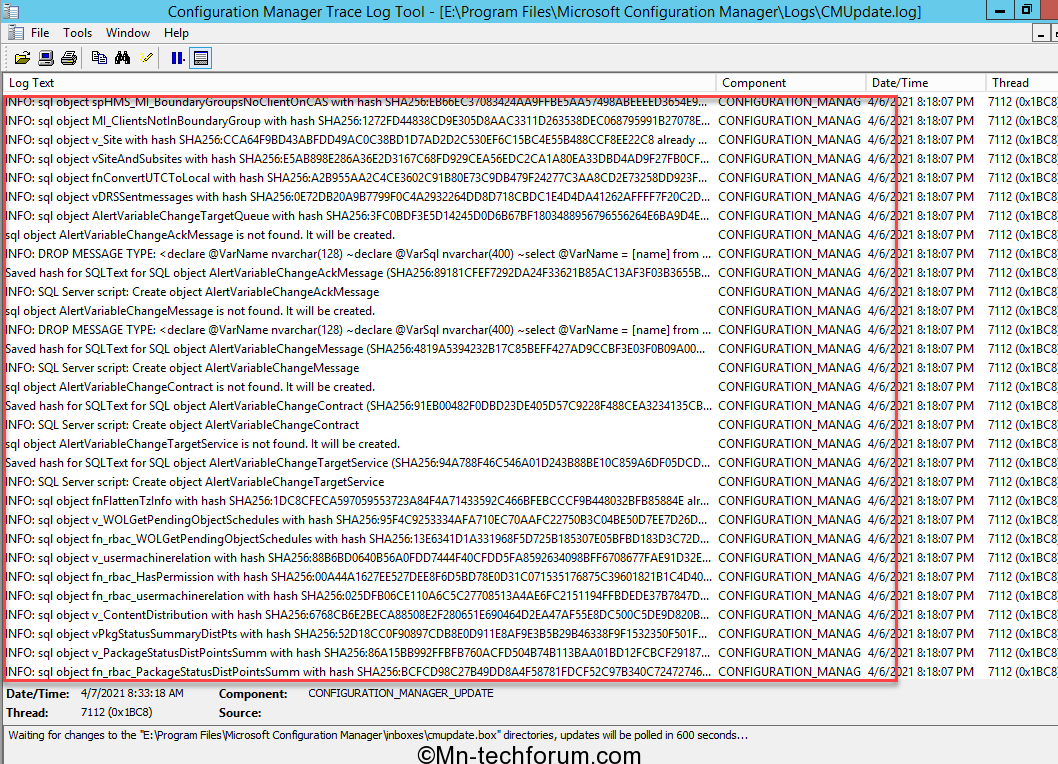
Let’s check from the back-end what all is happening during the upgrade. We can use the Monitoring Console to track the status progress from the CMUpdate.log file.
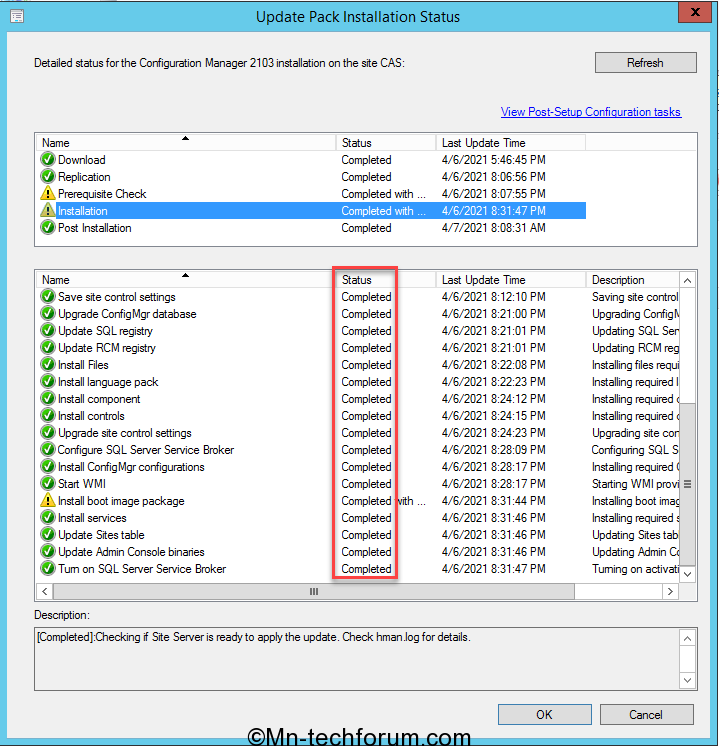
Check Installation status can be seen under \Monitoring\Overview\Updates and Servicing Status
On Completion, Console will prompt to upgrade Console.

Upgraded Details

Secondary Server Upgrade
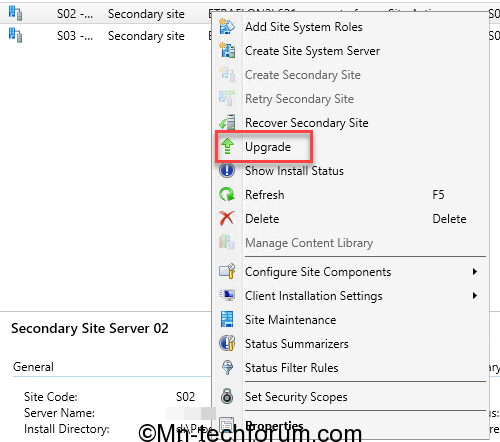
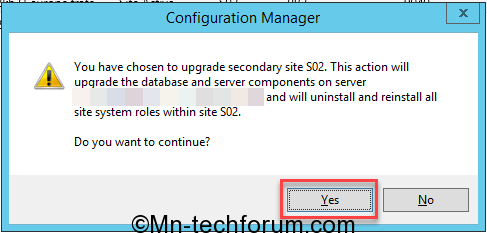
To update a secondary site in the Configuration Manager console, click Administration, click Site Configuration, click Sites, and then select the secondary site, click Upgrade
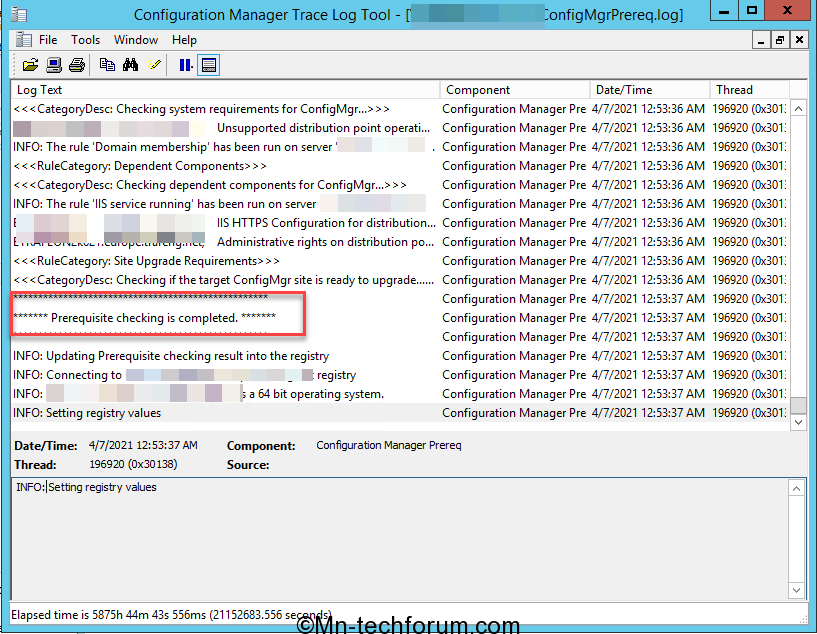
Check C:\ConfigmgPrereq.Log on Primary Server
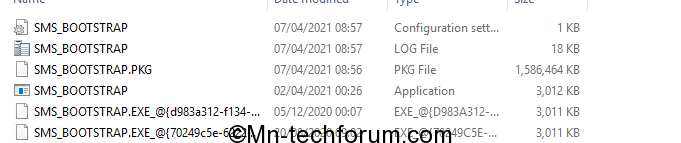
The upgrade package is copied to the Secondary Server on Successful pre-requisites completion
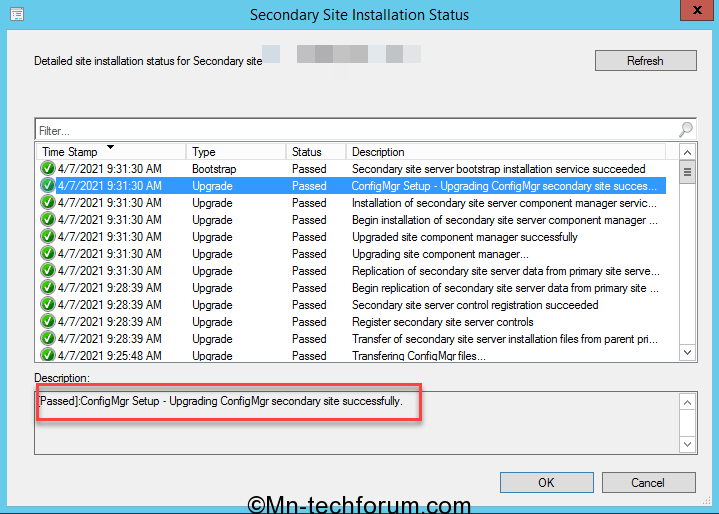
Secondary Server upgrade Completion Status
All hierarchy is on the same build number now.
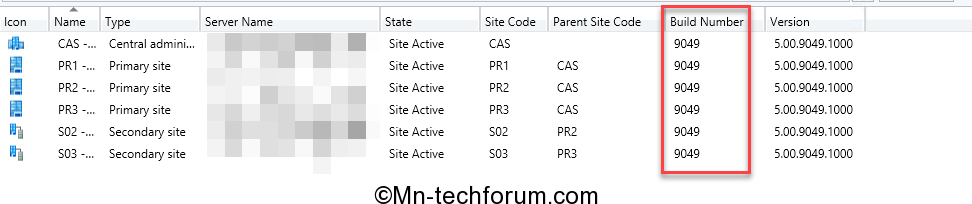
Site Version: 5.0.9049.1000
Console Version: 5.2013.1059.1700
Client Version: 5.00.9049.1010
SCCM 2013 Upgrade completed.
Post Upgrade tasks, Please do refer to blog from the archive: SCCM-2010 – Post Upgrade Tasks
